
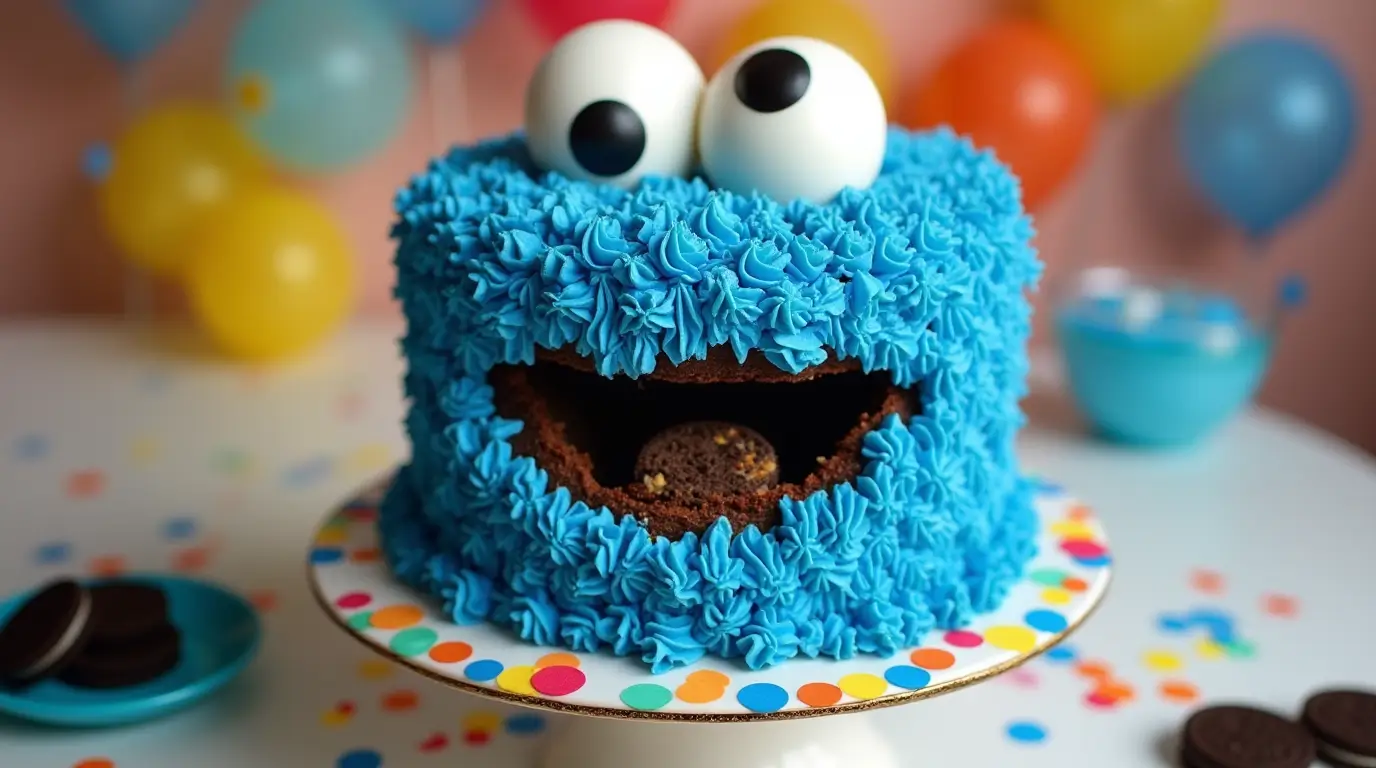
There’s something magical about a Cookie Monster cake. The playful blue frosting, the whimsical eyes, and the generous bite of cookies make it the perfect treat for any celebration. Whether you’re baking for a child’s birthday or simply looking to create something fun and unique for your next party, a Cookie Monster cake will undoubtedly steal the spotlight. In this article, you’ll discover everything you need to know about decorating and serving the perfect Cookie Monster cake.
Table of Contents
Why Choose a Cookie Monster Cake?
Imagine the excitement on your guests’ faces as they see a Cookie Monster cake on the dessert table. Its vibrant blue frosting and playful design are sure to delight, especially for fans of the beloved Sesame Street character. A Cookie Monster cake isn’t just a cake – it’s a centerpiece, an experience, and a conversation starter.
Whether you’re a seasoned baker or a novice in the kitchen, this fun cake is surprisingly easy to make. Plus, it’s versatile – you can customize it to suit different tastes, dietary preferences, and event themes. So, let’s dive into how you can create your own Cookie Monster masterpiece!
The Basics of a Cookie Monster Cake: What You Need to Know
Before you jump into decorating, let’s take a moment to talk about the essentials. The foundation of any great Cookie Monster cake is understanding what goes into it. Here’s a quick rundown of what you’ll need to make a delicious, eye-catching cake.
Key Ingredients
- Cake Base: You can choose from several cake types – vanilla, chocolate, or funfetti. All of these are easy to bake and pair perfectly with the blue frosting.
- Buttercream or Fondant: These are your main tools for creating the smooth, vibrant blue surface that will transform your cake into Cookie Monster. Buttercream is the most common choice because it’s both smooth and easy to work with.
- Cookies: Oreos are the traditional cookie choice for the eyes and mouth, but you can get creative with chocolate chip cookies or even homemade treats.
- Blue Food Coloring: The signature blue color of Cookie Monster is achieved with a good-quality blue food coloring. Gel food coloring works best because it won’t alter the consistency of your frosting.
- Edible Eyes: These can be purchased online or at specialty stores. Alternatively, you can create them yourself using fondant or candy.
Cake Size and Shape
When deciding on the size of your cake, consider the number of people you’ll be serving. A single round cake works perfectly for small gatherings, while a multi-layered cake is ideal for larger events. You can also opt for mini cakes, cupcakes, or even cake pops if you want to get creative with the presentation.
Baking Tips
- Always use room temperature ingredients for a smoother batter.
- Make sure your cake pans are well greased to prevent sticking.
- If you’re stacking multiple layers, ensure each layer has cooled completely before frosting to avoid melting or bulging.
Creative Cookie Monster Cake Decoration Ideas
Once you’ve got your cake base ready, it’s time for the fun part – decorating! There are so many ways to bring Cookie Monster to life on your cake. Whether you want a simple design or something more intricate, here’s how you can decorate your cake to make it look just like the lovable blue character.
Step-by-Step Instructions for Decorating Your Cookie Monster Cake
1. Preparing the Base
Start by frosting your cake with a thin layer of buttercream or fondant. This will act as the crumb coat, which helps seal in the crumbs and provides a smoother surface for the final layer of frosting. Once the crumb coat is applied, let it chill in the fridge for about 30 minutes before proceeding to the next step.
2. Adding the Cookie Monster Eyes
One of the defining features of a Cookie Monster cake is the large, googly eyes. There are two main ways to achieve this look:
- Edible Eyes: You can purchase large edible eyes online or at baking stores. These are quick and easy to use.
- Fondant Eyes: If you’re feeling creative, you can use fondant to make your own eyes. Roll two small balls of white fondant, flatten them, and place smaller black balls for the pupils. Attach these to the cake using a little water or edible glue.
Make sure to place the eyes towards the top of the cake, leaving room for the mouth. You want the eyes to stand out and be the focal point of the cake.
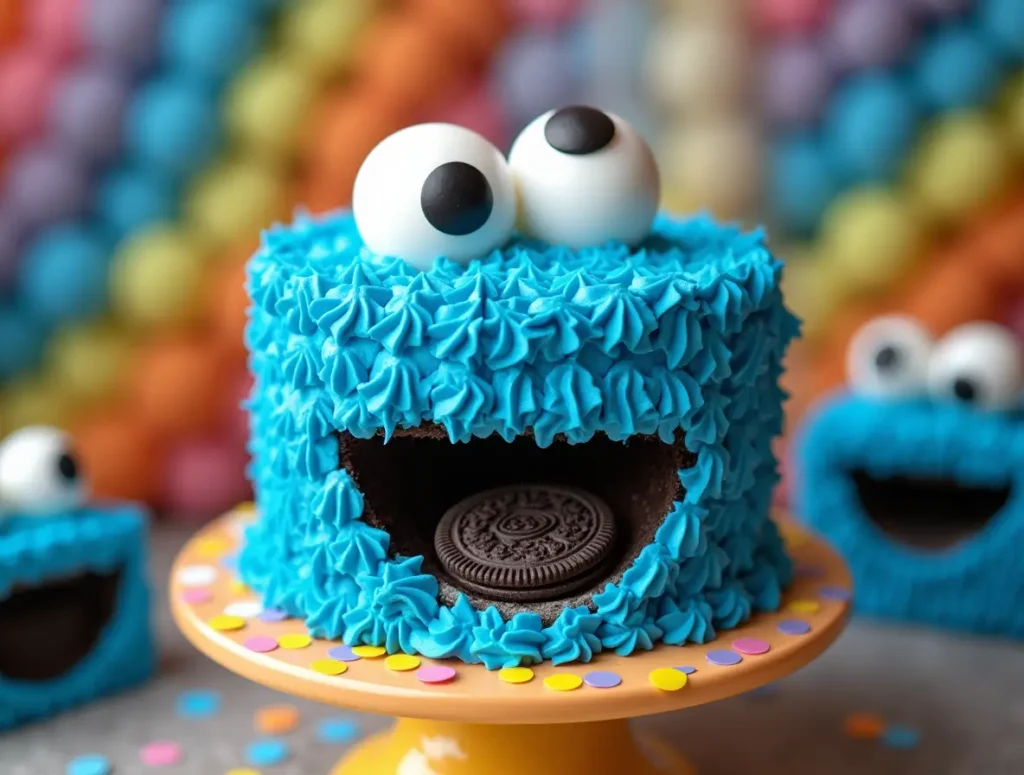
3. Creating the Cookie Monster Mouth and Cookies
Next, it’s time to add the iconic Cookie Monster mouth. Use Oreos or chocolate chip cookies to create the mouth. You can either place the cookies directly on the cake in a fun, exaggerated mouth shape or let some of the cookies appear as if Cookie Monster is taking a bite!
To add more character to your design, try positioning some of the cookies slightly askew, as if Cookie Monster is mid-chew. You can also add bite marks to the cookies for a more playful, dynamic effect.
4. Finishing Touches
Once the eyes and mouth are in place, it’s time for the finishing touches. This is where you can get really creative! You might want to add:
- Sprinkles: For a pop of color and texture.
- Chocolate Syrup: Drizzle it over the cake to mimic Cookie Monster’s love of cookies.
- Additional Cookies: Place more cookies around the base of the cake for extra decoration.
Creative Variations to Consider
If you’re looking to make your Cookie Monster cake stand out even more, here are some fun ideas:
- Mini Cookie Monster Cupcakes: Perfect for parties or a kid-friendly treat.
- Layered Cookie Monster Cake: Stack multiple layers with different cake flavors for a more dramatic look.
- Themed Decor: Incorporate other Sesame Street characters like Elmo or Big Bird for a fun, interactive cake table.
Cookie Monster Cake Serving Ideas: How to Make Your Cake Stand Out
Once your cake is beautifully decorated, it’s time to think about how to serve and display it. Here are some ideas to help you serve your Cookie Monster cake in style.
Tips for Serving and Cutting Your Cake
1. Serving Portion Suggestions
If you’ve made a large cake, you’ll want to cut it into smaller portions for easy serving. A good rule of thumb is to cut the cake into squares for a more efficient serving. Make sure to serve the cake on fun, Cookie Monster-themed plates or colorful tableware to tie the theme together.
2. Perfect Pairings
- Milk: There’s no better pairing for a Cookie Monster cake than a glass of milk. You can even serve milkshakes or chocolate milk for a fun twist.
- Additional Cookies: Serve chocolate chip cookies, Oreos, or other cookie varieties alongside the cake for a themed dessert spread.
3. How to Display Your Cake
- Cake Stands: Display your Cookie Monster cake on a colorful cake stand to elevate its appearance. You can even add a Cookie Monster figurine next to the cake for an extra touch.
- Interactive Display: Make your cake part of the party! Place cookies around the cake and encourage guests to “help Cookie Monster eat” by taking a cookie or two from the cake.
Special Serving Ideas for Kids vs. Adults
While a Cookie Monster cake is a hit with kids, it can also be a great treat for adults. Here are some ways to make your cake appealing to different audiences:
- Kids’ Serving: Serve cake in small portions with playful plates, cups, and straws. You can also add a Cookie Monster-themed party favor for each guest.
- Adults’ Serving: For a more sophisticated touch, serve the cake on elegant platters and pair it with coffee or dessert wines. You can even add a few dark chocolate cookies to complement the sweetness of the cake.
Cookie Monster Cake Recipe: Ingredients and Instructions
Here’s a quick table outlining the ingredients you’ll need for your Cookie Monster cake, along with step-by-step instructions on how to bake and decorate it.
Cookie Monster Cake Ingredients
| Ingredient | Amount | Notes |
|---|---|---|
| Cake flour | 2 ½ cups | For a fluffy, moist cake |
| Butter | 1 cup | Room temperature |
| Sugar | 2 cups | Granulated sugar |
| Eggs | 3 large | |
| Baking powder | 2 tsp | For rise and fluffiness |
| Blue food coloring | 1 tbsp | To create the iconic blue color |
| Buttercream frosting | 4 cups | Add blue food coloring to match |
| Oreos (for decoration) | 10-12 cookies | For the eyes and “mouth” |
Cookie Monster Cake Instructions
- Preheat your oven to 350°F (175°C) and grease your cake pans.
- Mix the dry ingredients (flour, sugar, baking powder) in one bowl, and the wet ingredients (butter, eggs) in another.
- Combine the wet and dry ingredients, then pour the batter into the prepared cake pans.
- Bake for 25-30 minutes or until a toothpick inserted into the center comes out clean.
- Allow the cakes to cool completely before frosting.
- Apply a crumb coat of frosting, then chill the cake in the fridge for 30 minutes.
- Frost the cake with blue buttercream, create the eyes and mouth with Oreos, and add final decorations like sprinkles and chocolate syrup.
Frequently Asked Questions (FAQs)
What is the Best Cake for a Cookie Monster Cake?
For a Cookie Monster cake, vanilla, chocolate, and funfetti cakes work best as they complement the vibrant blue frosting and are easy to decorate.
Can I Make a Cookie Monster Cake Ahead of Time?
Yes, you can bake the cake and prepare the decorations a day ahead. Just store the cake in an airtight container to keep it fresh.
How Do I Get the Perfect Blue Color for Cookie Monster?
Use gel food coloring to achieve the bright blue shade that Cookie Monster is known for. Start with a small amount and gradually add more until you reach your desired color.
Can I Use Other Cookies for the Mouth?
Yes! While Oreos are the traditional choice, you can use any cookies you prefer. Chocolate chip cookies, shortbread, or homemade cookies all make great alternatives.
Conclusion: Bring Your Cookie Monster Cake to Life!
Now that you know how to bake, decorate, and serve The Perfect Cake, it’s time to roll up your sleeves and get started! This cake isn’t just about creating something delicious; it’s about having fun and bringing joy to your guests. So, get creative, try out different decorations, and most importantly, enjoy the process.
Ready to bake your own Cookie Monster masterpiece? Grab your ingredients and let the fun begin!