
Have you ever dreamed of creating a dessert that scores big with your friends and family? What if you could bake a cake that not only tastes amazing but also looks like a basketball? Whether it’s for a game day celebration, a birthday, or just for fun, making a basketball cake is a creative and exciting project that anyone can enjoy. Ready to dunk your way into the world of cake decorating? Let’s dive in!
Table of Contents
Overview: Why This Basketball Cake is Special
This basketball cake is a perfect blend of creativity, deliciousness, and simplicity. The beauty of this cake lies in how it combines a classic chocolate cake with fun, sports-themed decoration. Not only does it look like a basketball, but it also tastes amazing, with moist cake layers and creamy frosting.
The recipe is easy to follow, with a preparation time of about 1 hour and 15 minutes, and the difficulty level is moderate—perfect for both beginner and intermediate bakers. With just seven simple steps, you’ll create a show-stopping dessert that’s perfect for any basketball fan or sports lover.
Essential Ingredients: What You Need to Get Started
Here are the main ingredients for making your basketball cake:
For the Cake Layers:
- All-Purpose Flour: Forms the base of the cake and gives it structure.
- Granulated Sugar: Sweetens the cake and helps it rise.
- Cocoa Powder: Adds a rich chocolate flavor that makes the cake irresistible.
- Baking Soda: Ensures the cake rises properly and has the right texture.
- Salt: Enhances the flavor of the cake and balances the sweetness.
- Unsalted Butter: Adds moisture and richness to the cake.
- Large Eggs: Help bind the ingredients together and add structure.
- Buttermilk: Makes the cake moist and tender, giving it a soft texture.
- Vanilla Extract: Adds a warm, sweet flavor to complement the chocolate.
For the Frosting:
- Cream Cheese: Forms the creamy base of the frosting with a slight tang.
- Unsalted Butter: Adds richness and smoothness to the frosting.
- Powdered Sugar: Sweetens the frosting and gives it a smooth texture.
- Vanilla Extract: Enhances the frosting’s flavor.
- Orange Gel Food Coloring: For the classic basketball orange color.
- Black Gel Food Coloring: For the basketball lines.
Substitutions:
- Dairy-Free: Use dairy-free butter and a plant-based milk alternative.
- Gluten-Free: Swap the all-purpose flour with gluten-free flour.
Step-by-Step Instructions: How to Make Your Basketball Cake
Ready to start baking? Follow these simple steps:
Step 1: Prepare the Cake Batter
- Preheat Your Oven: Preheat your oven to 350°F (175°C). Grease and flour three 8-inch round cake pans.
- Mix Dry Ingredients: In a large bowl, whisk together 2 cups of all-purpose flour, 1 ½ cups of sugar, ¾ cup of cocoa powder, 1 teaspoon of baking soda, and ½ teaspoon of salt.
- Add Butter: Add 1 cup of softened unsalted butter to the dry ingredients and mix until it forms a crumbly texture.
- Mix Wet Ingredients: In a separate bowl, beat together 3 large eggs, 1 cup of buttermilk, and 1 teaspoon of vanilla extract.
- Combine Wet and Dry: Gradually add the wet ingredients to the dry mixture, stirring until the batter is smooth and well combined.
- Bake the Cake: Divide the batter evenly between the prepared cake pans. Bake for 30-35 minutes, or until a toothpick inserted in the center comes out clean. Let the cakes cool in the pans for 10 minutes before transferring them to a wire rack to cool completely.
Step 2: Make the Frosting
- Cream the Butter and Cream Cheese: Beat ½ cup of softened unsalted butter and 8 ounces of softened cream cheese together until smooth and fluffy.
- Add Powdered Sugar: Gradually add 4 cups of powdered sugar, one cup at a time, beating well after each addition.
- Add Vanilla and Milk: Add 1 teaspoon of vanilla extract and 1-2 tablespoons of milk to achieve a smooth and spreadable consistency.
- Color the Frosting: Split the frosting into two bowls. Color one bowl with orange gel food coloring to create the basketball color, and color the other bowl with black gel food coloring to create the basketball lines.
Step 3: Assemble the Cake
- Level the Cake Layers: Use a serrated knife to level each cake layer, removing the domed top to create flat surfaces.
- Frost Between the Layers: Place the first cake layer on your serving plate or cake board. Spread a thin layer of orange frosting over the top. Add the second layer of cake, and repeat the frosting process.
- Crumb Coat: Add a thin layer of orange frosting over the entire cake to seal in any crumbs. Refrigerate the cake for 15 minutes to set the crumb coat.
Step 4: Decorate the Cake
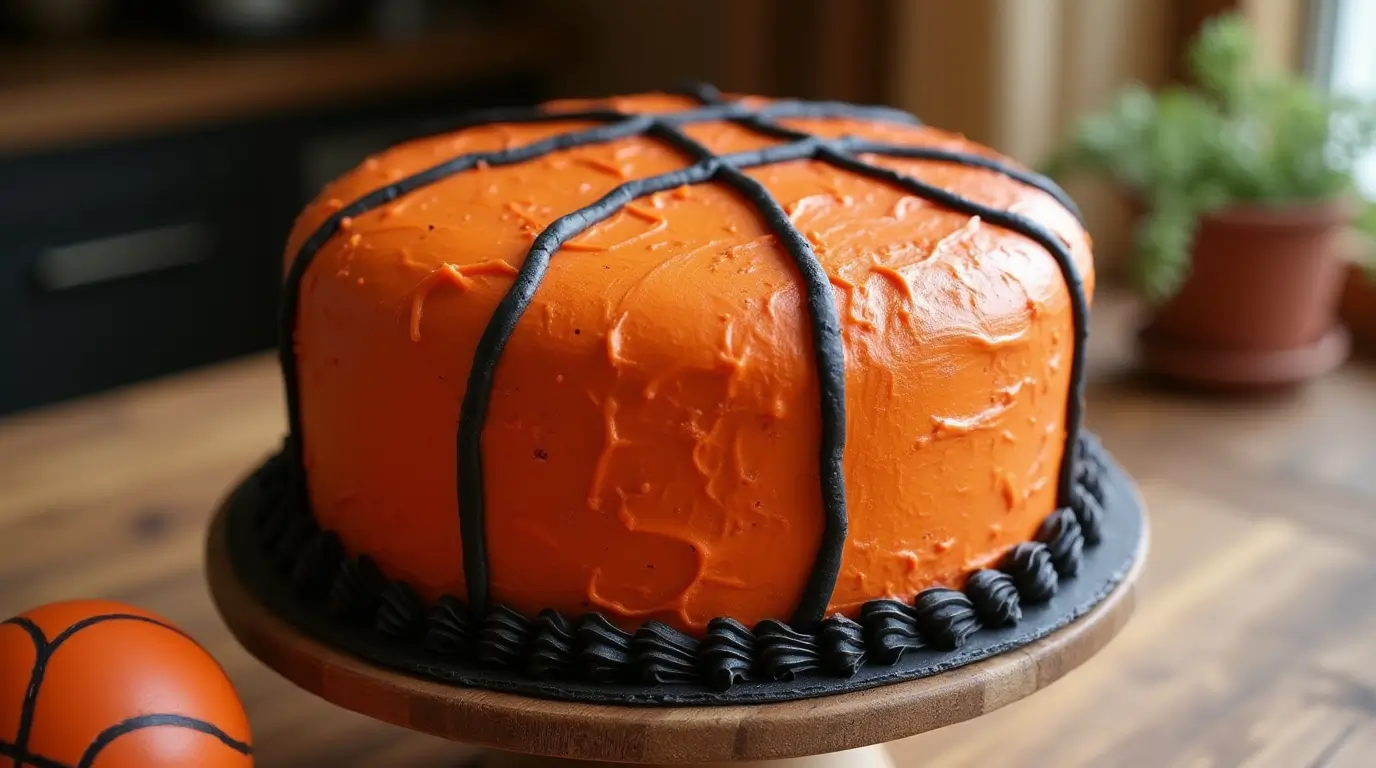
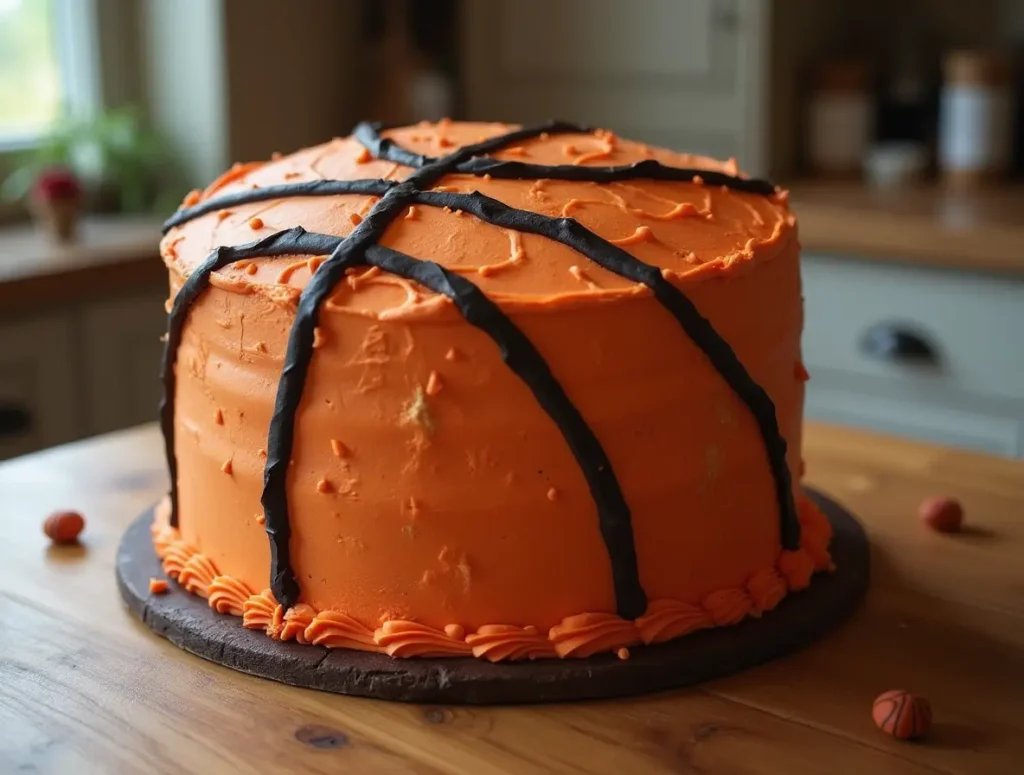
- Apply Final Layer of Frosting: Spread a smooth, even layer of orange frosting over the entire cake to create the basketball’s surface.
- Create Basketball Lines: Using the black frosting, pipe the basketball lines. Start with a vertical line down the center, then add a horizontal line across the middle, creating a cross pattern. Add curved lines along the sides to complete the basketball shape.
Step 5: Final Touches
- To make the lines stand out more, pipe small dots of black frosting along the lines to mimic the texture of a basketball.
- Refrigerate the cake for 10-15 minutes to allow the frosting to firm up.
Storage and Make-Ahead Tips
- Storing: Store the cake in an airtight container in the fridge for up to 3 days. To keep the cake fresh, cover it with plastic wrap or a cake dome.
- Freezing: If you want to make the cake ahead of time, you can freeze the cake layers. Wrap them tightly in plastic wrap and foil, then freeze for up to 3 months. Thaw the layers at room temperature before frosting.
- Reheating: While this cake is best served fresh, you can enjoy it at room temperature by letting it sit out for 30 minutes before serving.
Recipe Variations
- Football Cake: If you’re hosting a football party, simply change the color of the frosting to match your team’s colors. You can also create a football shape instead of a basketball.
- Cupcakes: Make mini basketball cakes by turning the recipe into cupcakes. Decorate each one with basketball lines and serve them as individual treats!
- Chocolate Chips: For extra texture, mix in a cup of chocolate chips into the batter for a more decadent chocolate flavor.
Conclusion
Making a basketball cake is a fun and creative way to bring your love for the sport into the kitchen. It’s a project that both beginners and experienced bakers can enjoy. The cake is not only visually striking, but it’s also delicious with its rich chocolate layers and creamy frosting. Whether you’re making it for a game day celebration, a birthday, or just because, this cake is sure to score a slam dunk with everyone.
So, why not experiment with different colors, cake flavors, and creative touches? The possibilities are endless, and the best part is that you get to enjoy a slice of the fun!
FAQs
1. Can I make this cake gluten-free? Yes! You can substitute the all-purpose flour with a gluten-free flour blend to make it suitable for gluten-sensitive diets.
2. How can I make the frosting dairy-free? You can substitute the butter and cream cheese with non-dairy options like dairy-free butter and coconut cream cheese.
3. Can I make this cake ahead of time? Yes, you can prepare the cake layers a day in advance and store them in an airtight container. Frost and decorate the cake on the day you plan to serve it.
4. How do I store the cake to keep it fresh? Store the cake in an airtight container in the refrigerator for up to 3 days. You can also freeze the cake layers for up to 3 months for longer storage.
5. Can I change the cake flavor? Absolutely! Feel free to switch up the flavor by using vanilla, red velvet, or even a lemon Cake Recipe to match your taste. The basketball design will work with any flavor!