
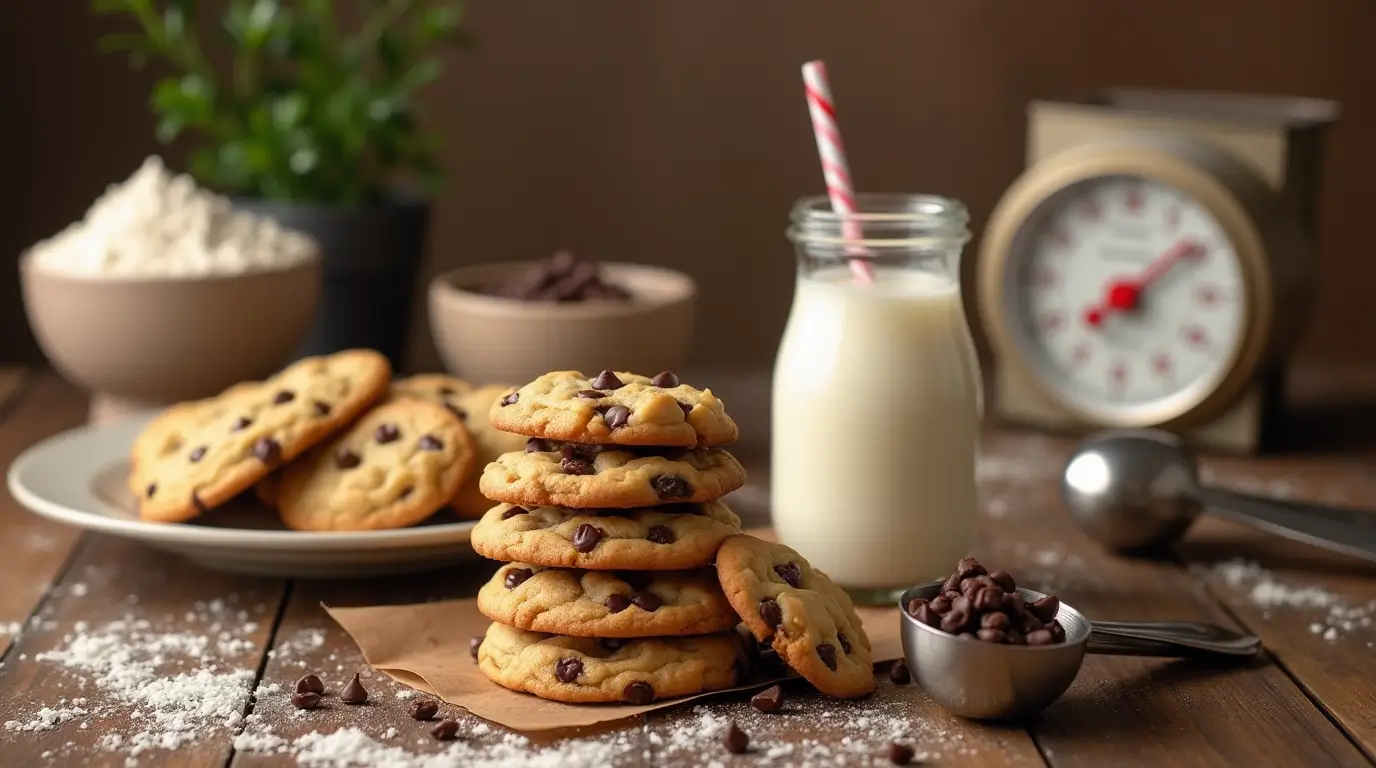
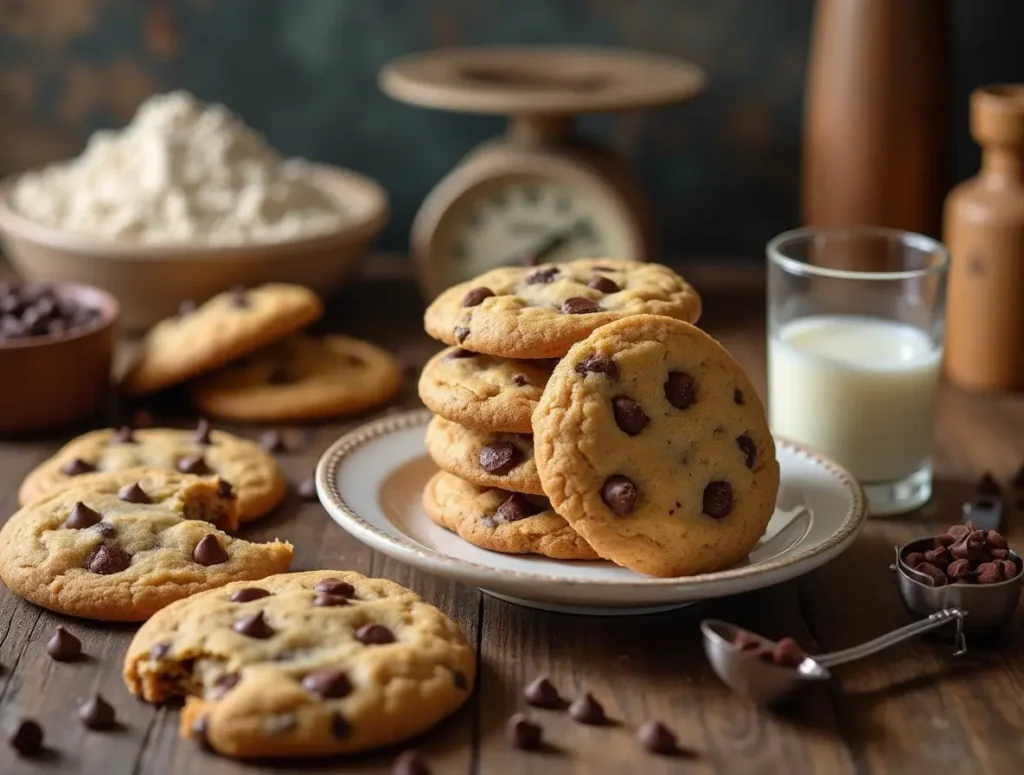
Have you ever wondered what makes Disney’s chocolate chip cookies so irresistible? Could there be a secret formula behind those perfect, chewy, golden treats you find in the park? If you’re a fan of these iconic cookies, you’re in luck! In this blog post, we’re going to explore the Disney Chocolate Chip Cookie Recipe Metric Measurements and teach you how to make them right in your own kitchen. Ready to bake the most perfect cookies ever? Let’s dive into the recipe!
Table of Contents
Overview
This Disney Chocolate Chip Cookie Recipe Metric Measurements is a must-try for anyone who loves the comforting, soft, and chewy chocolate chip cookies Disney is famous for. The recipe takes about 15 minutes to prepare and 10-12 minutes to bake. It’s a straightforward recipe that yields delicious cookies, making it great for bakers of all levels—whether you’re just starting or already an expert.
The best part? We’ll provide all the ingredient measurements in metric units, making it even easier for you to follow, whether you’re using a kitchen scale or simply prefer more precise measurements. Let’s get started!
Essential Ingredients
To make the perfect Disney-inspired chocolate chip cookies, you’ll need a few key ingredients. Let’s take a look at them and why each one plays a crucial role in your cookie success:
- Butter (unsalted) – 225 grams
- Why it’s important: Butter provides richness and moisture to the cookies, giving them that soft, chewy texture. Be sure to use unsalted butter to control the amount of salt in the recipe.
- Granulated sugar – 150 grams
- Why it’s important: Sugar adds sweetness, of course, but also helps create that golden brown color as the cookies bake. It also contributes to the cookie’s chewiness.
- Brown sugar – 160 grams
- Why it’s important: Brown sugar helps retain moisture in the cookies, giving them that soft, chewy texture we all love. The molasses in brown sugar also enhances the cookie’s flavor.
- All-purpose flour – 250 grams
- Why it’s important: Flour is the base of the dough and provides structure to the cookies. Using the right amount of flour is key to achieving the perfect cookie consistency.
- Baking soda – 1 teaspoon (about 5 grams)
- Why it’s important: Baking soda is a leavening agent that helps the cookies rise slightly and spread out in the oven, giving them a light, airy texture.
- Salt – 1/2 teaspoon (about 2 grams)
- Why it’s important: Salt enhances the flavors of the sugar and chocolate, making the cookies taste even better. It also helps balance the sweetness.
- Vanilla extract – 1 teaspoon (about 5 ml)
- Why it’s important: Vanilla extract adds depth of flavor and a wonderful aroma to your cookies.
- Eggs – 2 large (about 120 grams)
- Why they’re important: Eggs act as a binding agent and help provide structure and moisture to the cookies. They also help them rise slightly in the oven.
- Chocolate chips – 200 grams (about 1 1/3 cups)
- Why they’re important: The star ingredient! Chocolate chips melt beautifully in the oven, creating gooey pockets of chocolate in every bite.
Step-by-Step Instructions
Now that we have all the ingredients, let’s dive into how to make these delicious cookies. Follow these steps to get perfectly baked Disney Chocolate Chip Cookies.
- Preheat your oven to 180°C (350°F). Line two baking sheets with parchment paper or silicone baking mats. This will prevent your cookies from sticking to the pan and ensure they bake evenly.
- Cream together the butter, granulated sugar, and brown sugar in a large bowl using a hand mixer or stand mixer on medium speed. Beat until the mixture is light and fluffy. This should take about 2-3 minutes.
- Add the eggs, one at a time, mixing well after each addition. Stir in the vanilla extract. The eggs and vanilla will add moisture and enhance the flavor of the cookies.
- In a separate bowl, whisk together the flour, baking soda, and salt. Gradually add this dry mixture to the wet ingredients, mixing until just combined. Be careful not to overmix, as this can make the cookies tough.
- Fold in the chocolate chips. This step is where the magic happens—generously add the chocolate chips and mix until they’re evenly distributed throughout the dough.
- Scoop the dough onto the prepared baking sheets using a cookie scoop or tablespoon. Space the dough balls about 2 inches apart, as they will spread while baking.
- Bake for 10-12 minutes, or until the edges are golden brown but the centers are still soft. Keep an eye on your cookies, as oven times can vary.
- Remove from the oven and let the cookies cool on the baking sheets for a few minutes before transferring them to wire racks to cool completely.
Assembly Tips
- Cookie Size: For even baking, make sure all the cookie dough scoops are the same size. Using a cookie scoop or tablespoon ensures uniformity.
- Perfect Texture: If you want extra chewy cookies, don’t overbake them! Remove the cookies from the oven when they still look a bit soft in the center.
- Chill the dough: If you have time, chilling the dough for 30 minutes before baking can help the cookies hold their shape better and enhance the flavor.
Storage and Make-Ahead Tips
- Storage: Store your Disney Chocolate Chip Cookies in an airtight container at room temperature for up to 5 days. You can also freeze them for up to 3 months.
- Make-ahead: You can prepare the dough in advance and refrigerate it for up to 3 days. When you’re ready to bake, simply scoop and bake as usual.
Recipe Variations
Here are a few ways you can customize your Disney Chocolate Chip Cookie Recipe Metric Measurements:
- Add nuts: Chop up some walnuts, pecans, or almonds and fold them into the dough for added crunch.
- Try different chocolates: Use dark chocolate chips or even white chocolate chips for a different flavor twist.
- Make them vegan: Substitute the butter for a dairy-free butter and the eggs for a flax egg (1 tablespoon ground flaxseed + 3 tablespoons water). Use dairy-free chocolate chips for a fully vegan version.
- Add some flair: Toss in some sprinkles or colorful chocolate candies for a festive touch!
Conclusion
Making the perfect batch of Disney Chocolate Chip Cookies is easier than you might think, especially when you have precise metric measurements at your fingertips. Whether you’re Baking for a special occasion or just because, these cookies are sure to be a hit with everyone. Experiment with different variations, enjoy the process, and most importantly, enjoy the delicious cookies you create!
FAQs
Q: Can I use different types of chocolate chips?
A: Absolutely! You can use milk chocolate, dark chocolate, or even white chocolate chips, depending on your personal preference.
Q: How can I make my cookies chewier?
A: To achieve chewier cookies, make sure not to overbake them. Remove them from the oven when the edges are golden, but the center is still soft. Also, using brown sugar will help keep them soft and chewy.
Q: Can I freeze cookie dough?
A: Yes, you can freeze the cookie dough! Just scoop the dough into balls, place them on a baking sheet to freeze for an hour, then transfer them to a freezer bag. When you’re ready to bake, just bake the frozen dough balls directly—no need to thaw!
Q: How do I store these cookies?
A: Store your cookies in an airtight container at room temperature for up to 5 days. You can also freeze them for up to 3 months.
Now you’re all set to create the ultimate batch of Disney Chocolate Chip Cookies! Happy baking!