
Have you ever craved a dessert that feels like a warm hug, bursting with flavor but simple enough to make in a flash? Look no further than the Mia and Marie Pie. This delightful dessert brings comfort and sweetness to any occasion, and the best part is—it’s easy to make! But how do you make the perfect Mia and Marie Pie in just 10 simple steps? Let’s dive in!
Table of Contents
Overview
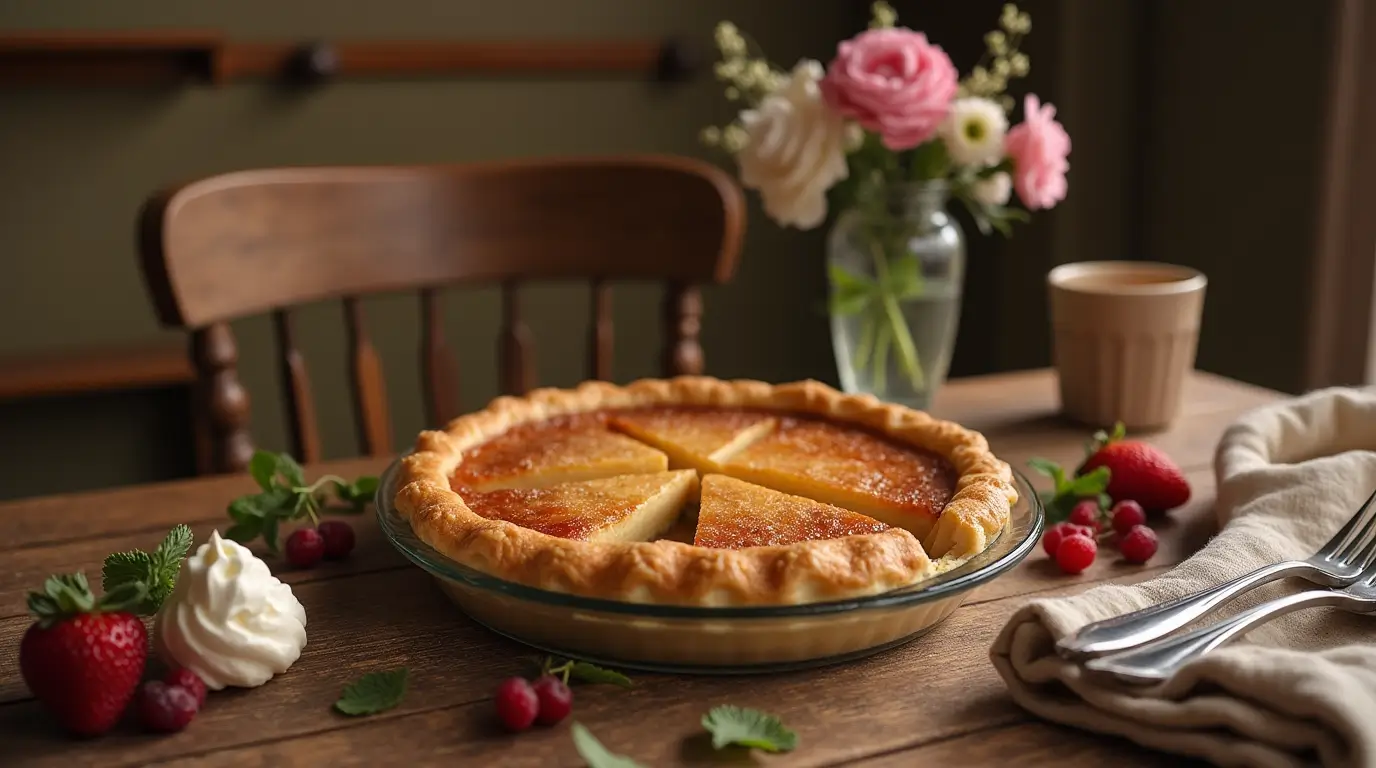
The Mia and Marie Pie is a decadent dessert that’s both easy to make and utterly delicious. It combines creamy filling with a crisp, golden crust, making it a perfect treat for everything from family gatherings to casual get-togethers. The best part is that it doesn’t take hours in the kitchen or require any fancy baking skills. In just about 45 minutes, you’ll have a pie that will wow your friends and family. The recipe is beginner-friendly, making it ideal for even those who are just starting to explore the world of baking.
In this guide, we’ll walk you through every step of preparing this crowd-pleaser. Whether you’re new to baking or a seasoned pro, you’ll love how easy it is to pull off this irresistible pie.
Essential Ingredients
To create a delicious Mia and Marie Pie, you’ll need the following ingredients:
- Pie Crust – The base of any good pie is its crust! You can opt for a store-bought crust for convenience or make your own if you’re feeling adventurous. The buttery texture of a homemade crust can elevate the pie to new heights.
- Cream Cheese – This is the key to the creamy, rich filling. It adds the perfect texture and flavor, making each bite melt in your mouth.
- Sweetened Condensed Milk – This ingredient gives the pie its luscious sweetness and helps bind the filling together. You can substitute it with evaporated milk and sugar for a lighter option, though the flavor won’t be quite the same.
- Lemon Juice – For a tangy twist, a touch of fresh lemon juice balances out the sweetness of the filling and adds a hint of freshness.
- Vanilla Extract – A dash of vanilla enhances the overall flavor, making the filling even more irresistible.
- Whipped Topping – This is optional but highly recommended for a fluffy, airy texture on top of the pie.
- Sugar – To sweeten the filling and bring everything together. You can use regular white sugar or opt for coconut sugar for a more natural alternative.
Substitutions and Variations: If you want to make the pie a little lighter, try swapping out the cream cheese for Greek yogurt, or use almond milk in place of sweetened condensed milk for a dairy-free version. You can also get creative with toppings—fresh berries or a drizzle of caramel sauce can add a fun twist!
Step-by-Step Instructions
Making the Mia and Marie Pie is easier than you might think! Here’s how to prepare it in just 10 easy steps.
Step 1: Preheat Your Oven
Start by preheating your oven to 350°F (175°C). This will ensure the pie bakes evenly and gets a nice, golden color.
Step 2: Prepare the Pie Crust
If you’re using a store-bought pie crust, simply place it in a pie dish. If you’re making your own, roll out your dough to fit the pie dish, making sure to press it into the edges. You can use a fork to crimp the edges for a decorative touch. Place the crust in the fridge for about 10 minutes to chill, which helps it hold its shape during baking.
Step 3: Bake the Crust
Bake the crust for 10–12 minutes until it’s lightly golden brown. If you notice any bubbles forming in the crust, gently poke them with a fork to release the air. Once done, remove from the oven and let it cool.
Step 4: Make the Creamy Filling
In a medium bowl, combine the cream cheese and sweetened condensed milk. Use a hand mixer or whisk to beat the mixture until smooth and creamy. Add in the lemon juice and vanilla extract, mixing until everything is fully combined. Taste it—if you want a bit more sweetness, feel free to add a little sugar to the filling.
Step 5: Fill the Pie Crust
Once the crust has cooled down, pour the cream cheese mixture into the pie crust. Use a spatula to spread it out evenly and ensure the filling reaches all the edges.
Step 6: Chill the Pie
Now it’s time to chill! Refrigerate the pie for at least 2 hours to allow the filling to set and firm up. The longer it chills, the better the flavors will meld together.
Step 7: Add the Whipped Topping
Once the pie has set, take it out of the fridge and spread a generous layer of whipped topping over the cream cheese filling. You can either use store-bought whipped cream or make your own by beating heavy cream with a little sugar until soft peaks form.
Step 8: Garnish and Decorate
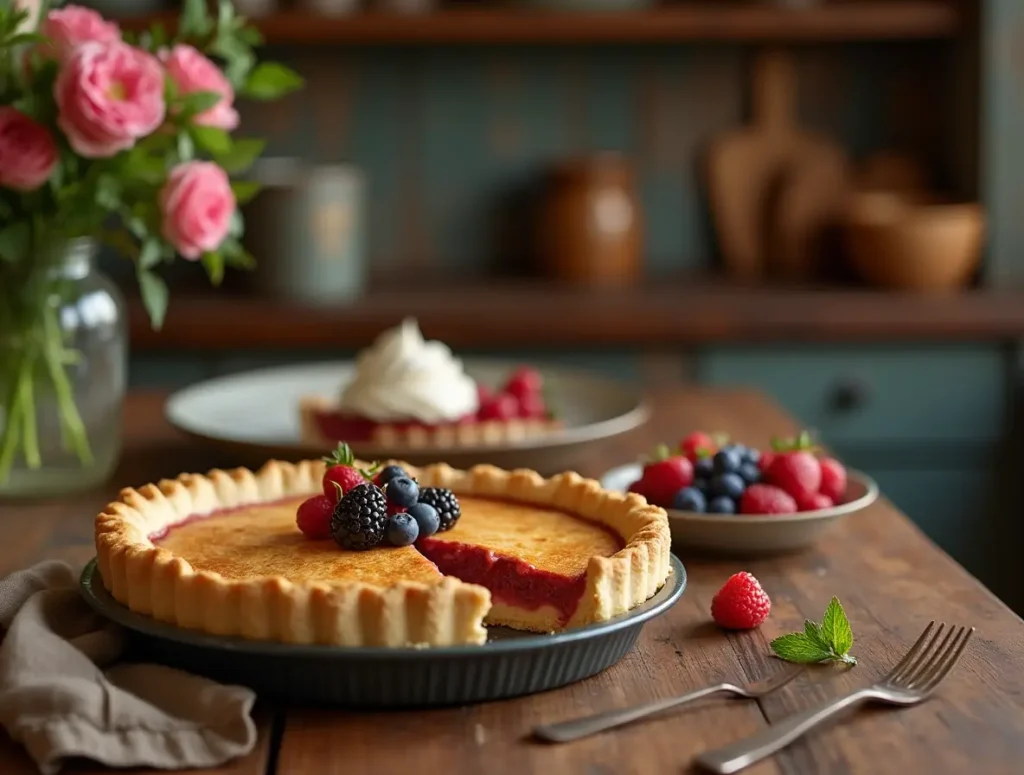
This is where you can get creative! Top the pie with your favorite garnishes. Fresh berries like strawberries, blueberries, or raspberries are always a hit. You could also sprinkle some chopped nuts or drizzle a little caramel sauce on top.
Step 9: Slice and Serve
Once garnished, slice the pie into wedges, making sure to get a bit of that creamy filling and whipped topping in every bite.
Step 10: Enjoy!
Serve your delicious Mia and Marie Pie at your next get-together and watch it disappear in no time. It’s sure to be a crowd-pleaser!
Assembly Tips and Presentation
For a flawless presentation, serve the pie on a beautiful pie plate or dish. A decorative edge or a topping of fresh whipped cream can really elevate the look. If you want a more elegant touch, you can dust the top with powdered sugar or add edible flowers for a pop of color.
Pro Tip: If you’re preparing the pie for a special occasion, try serving individual slices in glass jars or small dessert cups for an extra fun presentation.
Storage and Make-Ahead Tips
The Mia and Marie Pie can be made ahead of time, making it a great option for parties or busy weeks. After the pie has set in the fridge, cover it with plastic wrap or a pie dome to keep it fresh. It will last for up to 4 days in the refrigerator.
Reheating:
This pie is best served cold, so there’s no need to reheat it. Just take it out of the fridge about 10–15 minutes before serving to allow it to come to room temperature for the best flavor and texture.
Recipe Variations
Here are some creative variations to take your Mia and Marie Pie to the next level:
- Chocolate Mia and Marie Pie – Add melted chocolate to the filling for a decadent twist, or layer it with a chocolate ganache on top.
- Coconut Mia and Marie Pie – Add shredded coconut to the filling or garnish the pie with toasted coconut flakes for a tropical flair.
- Fruit Mia and Marie Pie – Incorporate diced fruits like peaches or mangoes into the filling for a fresh, fruity twist.
- Nutty Mia and Marie Pie – Sprinkle chopped nuts like almonds or pecans over the whipped topping for added crunch.
Conclusion
Now that you know how to make the Mia and Marie Pie in just 10 easy steps, it’s time to get baking! This Delightful Dessert is perfect for all occasions and can be customized to suit your taste. Don’t hesitate to get creative with flavors, toppings, and variations. Whether you’re a beginner baker or a seasoned pro, this pie will impress everyone who tries it.
Enjoy the process, have fun with the recipe, and most importantly—indulge in the delicious results!
FAQs
Can I make Mia and Marie Pie ahead of time?
Yes, you can make the pie up to 2 days in advance. Just keep it covered in the fridge.
Can I make a dairy-free version of Mia and Marie Pie?
Absolutely! Substitute the cream cheese and whipped topping with non-dairy alternatives like coconut cream or cashew cream. You can also use almond milk instead of sweetened condensed milk.
How can I make the pie crust ahead of time?
You can prepare and bake the crust a day before, just store it in an airtight container to keep it fresh until you’re ready to fill it.
What should I do if I don’t have lemon juice?
If you don’t have lemon juice, a splash of apple cider vinegar can work as a tangy substitute to balance the sweetness of the filling.
Enjoy your Mia and Marie Pie! It’s easy to make, and you’re sure to love it!