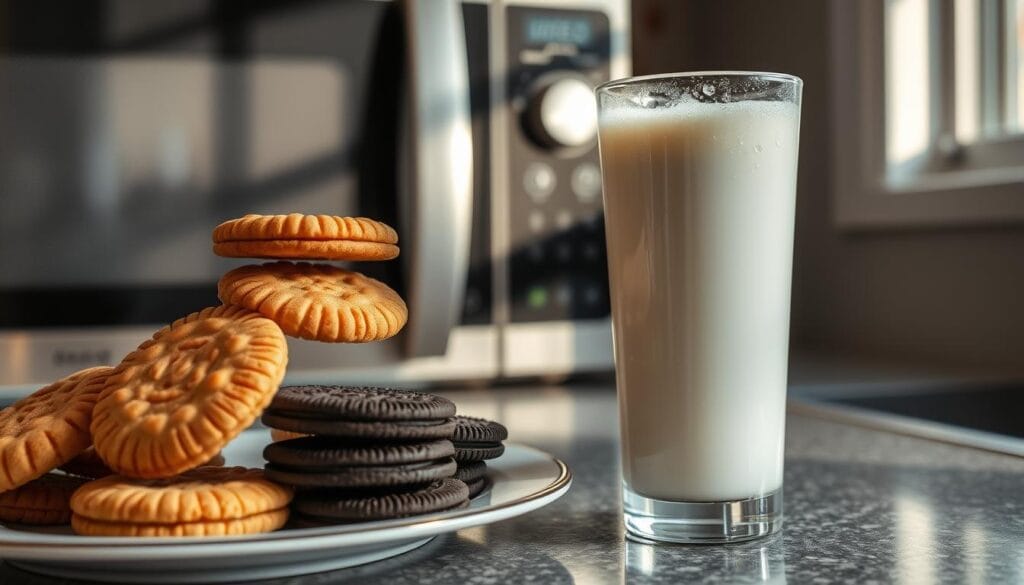
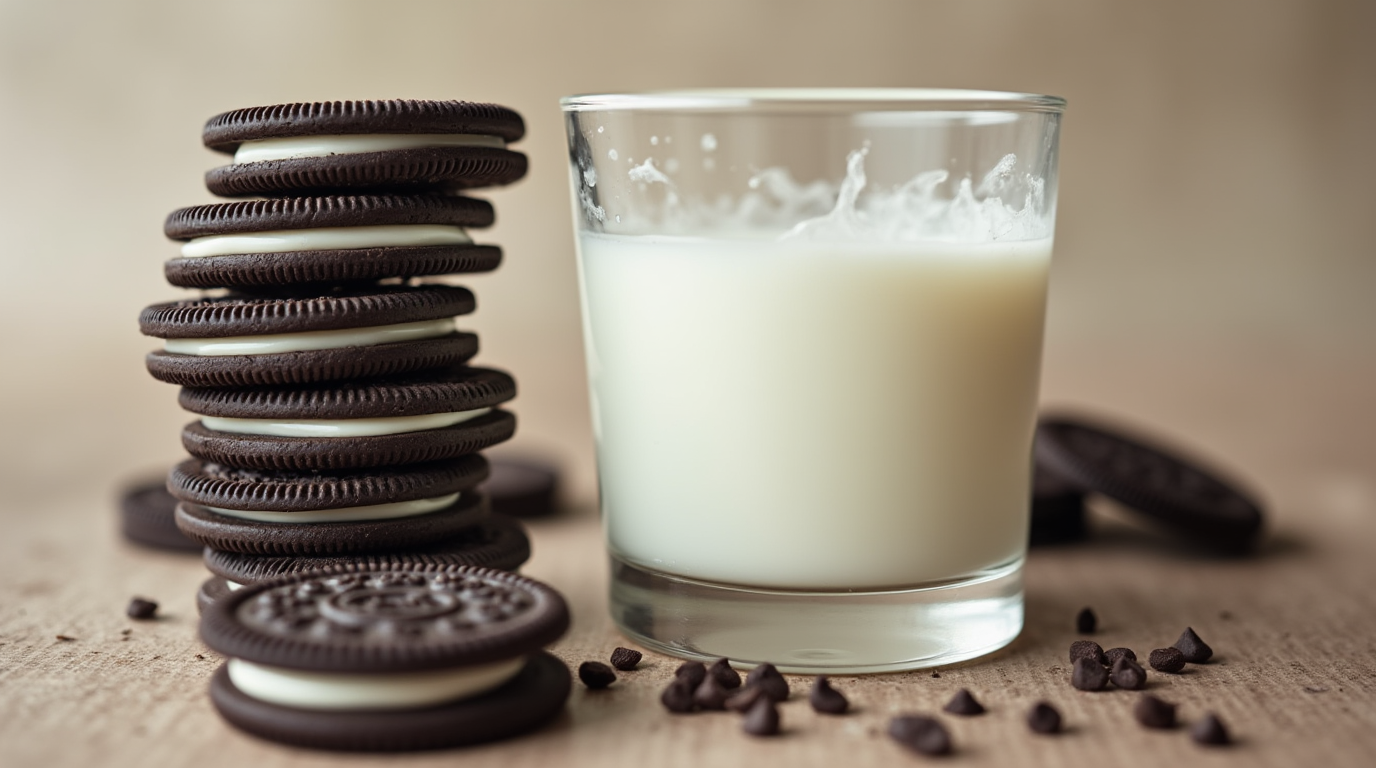
Growing up, I loved dunking Oreos in cold milk. It was a perfect mix of crunchy cookie and creamy filling. This classic combo turned into a quick microwave dessert that everyone loves.
The Oreo mug cake is simple yet amazing. It only needs Oreos and milk to become a warm, gooey treat. It’s perfect for when you want something sweet without the hassle of baking.
Table of Contents

Key Takeaways
- Oreo mug cake is a quick and easy 2-ingredient dessert made in the microwave
- Requires just 5 minutes of prep time and 1-1.5 minutes of cooking time
- Serves one person, making it a perfect individual indulgence
- Can be made with different Oreo flavors to suit your preferences
- Whole or evaporated milk provides moisture and flavor to the cake
The Classic Comfort Food Revolution
The Oreo cookie has been a favorite snack for many years. It brings back memories and is a part of a long-standing tradition. Nabisco introduced the Oreo in 1912, inspired by the Hydrox cookie. The name “Oreo” comes from the French word for “gold,” matching the original packaging color.
Over time, the Oreo has kept its classic look but added many new flavors. It also has special edition treats for those who love trying new things. At the same time, microwave cooking has grown, making it easy to make tasty treats quickly.
Origins of the Oreo Cookie
The Oreo cookie started in 1912 with the National Biscuit Company, now Nabisco. It was inspired by the Hydrox cookie and quickly became a favorite. It’s now a beloved comfort food and snacking tradition in many American homes.
Evolution of Microwave Desserts
The microwave oven changed desserts in kitchens everywhere. It made it easy to make quick treats. The Oreo mug cake became very popular on TikTok, mixing old and new.
Why This Combo Works
Microwaving Oreos with milk is a perfect mix. The chocolatey Oreos and warm milk create a delicious treat. It’s a quick way to enjoy a comfort food that everyone loves.
Essential Ingredients for the Perfect Oreo Mug Cake
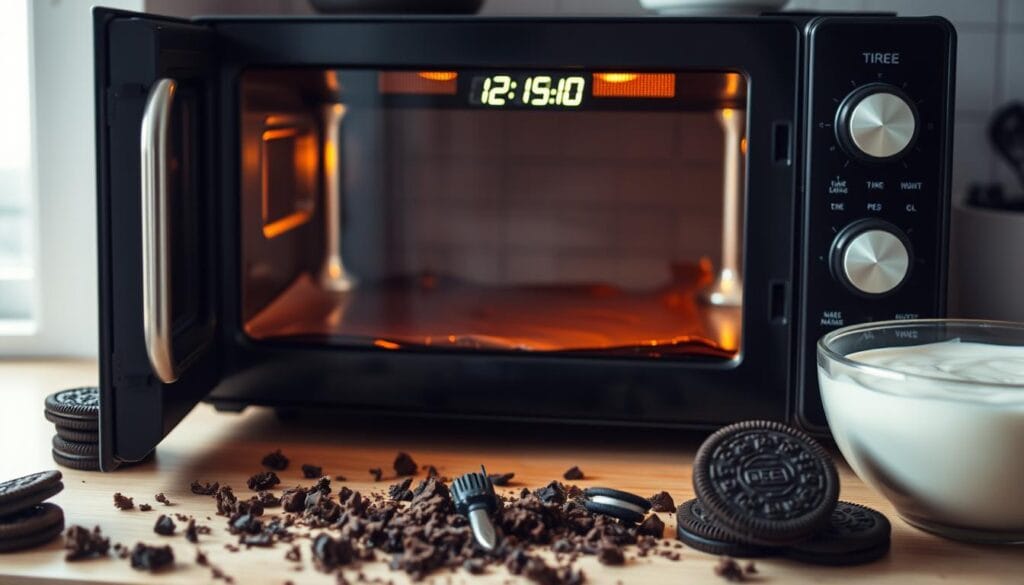
Making the perfect Oreo mug cake starts with the right ingredients. At its core, the treat relies on Oreo cookie crumbs for its chocolate taste and texture. You’ll need to crush 4 to 8 Oreo cookies finely, using a food processor or blender.
The cake also needs milk as its main liquid. Whole milk or evaporated milk adds a richer taste. But, you can try milk options like almond, soy, or oat milk for different tastes.
To make the cake even better, add chocolate chips or a bit of baking powder. Chocolate chips make the cake extra chocolatey. Baking powder helps it become fluffier and more like a real cake.
| Ingredient | Quantity |
|---|---|
| Oreo cookies, crushed | 4-8 cookies |
| Milk (whole or evaporated) | 3 tablespoons |
| Chocolate chips (optional) | 1-2 tablespoons |
| Baking powder (optional) | 1/4 teaspoon |
With these ingredients, you’re ready to make a delicious Oreo mug cake. It’s quick and will satisfy your sweet cravings.
“The key to a perfect Oreo mug cake is the quality and fineness of the Oreo cookie crumbs. They need to be blended into a powder for the ideal texture and flavor distribution.”
The Science Behind Oreos and Milk
Microwaving Oreos and milk creates a fascinating chemical reaction. This reaction changes the Oreos’ texture in a delightful way. The heat softens the Oreos and melts the chocolate, making them cake-like.
Chemical Reaction in Microwaving
When Oreos are microwaved, several chemical reactions happen. The milk’s fat and proteins mix with the cookie’s ingredients. This breaks down the cookie’s structure, making it creamy and smooth.
The chocolate in the Oreo also melts. This adds to the smooth, indulgent feel of the treat.
Texture Transformation
The microwave’s heat and the milk’s softening properties change the Oreo’s texture. The once-crunchy cookie becomes soft and cake-like. The melted chocolate adds a rich, fudgy element.
This change in texture is why the Oreo and milk combo is so satisfying when microwaved.
Optimal Temperature Points
The best cooking time for an Oreo mug cake is 1 to 1.5 minutes. This depends on the microwave’s power. It allows the Oreos to soften and the chocolate to melt just right.
After microwaving, the cake sets and firms up during a 5-minute cooling period. This ensures it’s perfectly consistent.
| Key Insights | Values |
|---|---|
| Optimal Dunk Time for Oreos in Milk | 3 to 4 seconds |
| Recommended Milk Types | Whole milk, 2% milk |
| Capillary Action Peak | 3 to 4 seconds |
| Estimated Oreo Cookies Sold | 500 billion |
| Oreo Trademark Year | 1912 |
“The art of Oreo dunking integrates both science and personal preference to create an ultimate indulgent experience, with the 3 to 4-second dunk time serving as a reliable guideline for achieving the perfect balance of creamy filling and chocolaty crunch.”
Step-by-Step Preparation Guide
Indulge in the perfect microwave dessert with this easy-to-follow Oreo mug cake recipe. In just a few simple steps, you can satisfy your sweet tooth. Enjoy the classic combination of Oreos and milk in minutes.
- Start by crushing 4-5 Oreo cookies in a microwave-safe mug. Use the back of a spoon or your fingers to break them down into small crumbs.
- Add 2-3 tablespoons of milk to the crushed Oreos and stir until the mixture becomes creamy and well-combined, about 1 minute.
- If desired, you can also mix in a teaspoon of cocoa powder, a pinch of sugar, or a sprinkle of flour and baking powder to enhance the flavor and texture of your mug cake.
- Microwave the mug for 1 to 1.5 minutes, keeping a close eye on it to prevent overflow or overcooking.
- Allow the mug cake to cool for 5 minutes before adding your favorite toppings, such as a dollop of whipped cream, a sprinkle of crushed Oreos, or a drizzle of chocolate syrup.
With this simple mug cake recipe, you can indulge in a delightful microwave dessert anytime. Satisfy your cravings for the classic Oreo and milk combination in minutes. Enjoy this easy baking treat whenever the mood strikes!

Creative Variations and Flavor Twists
Make your Oreo mug cake even better by trying new flavors and toppings. You can go from classic to unique, making it your own. The choices are endless.
Alternative Milk Options
Don’t just stick to regular milk with Oreos. Try almond, coconut, or soy milk for different tastes. It’s a great way to match your diet or personal taste.
Oreo Flavor Combinations
- Try Red Velvet or Golden Oreos for a twist on the classic.
- Use seasonal Oreos like Pumpkin Spice or Candy Cane for a festive touch.
- Make your own mix by combining different Oreo flavors, like Mint with Chocolate.
Special Add-ins and Toppings
Add excitement to your Oreo mug cake with special ingredients. Mix in peanut butter, cinnamon, or nuts for extra taste. Top it with whipped cream, caramel, or ice cream for a rich treat.
| Oreo Flavor | Milk Option | Additional Toppings |
|---|---|---|
| Red Velvet Oreos | Almond Milk | Cream Cheese Frosting, Crushed Pecans |
| Peanut Butter Oreos | Soy Milk | Peanut Butter Drizzle, Chocolate Chips |
| Mint Oreos | Coconut Milk | Crushed Peppermint, Whipped Cream |
Be your own chef and try new things with Oreo mug cakes. Mix flavors, milks, and toppings to make it your own. It’s a fun way to create a unique dessert.
Tips for the Perfect Microwave Timing
Mastering the Oreo mug cake is all about getting the microwave timing right. Since microwave power can differ greatly, start carefully and adjust as needed.
Begin by microwaving your Oreo mug cake for 1 minute. Watch it closely. If it’s not set in the center, cook in 30-second increments until it’s perfect. Place the mug on the microwave’s outer edge for even heating.
- Start with 1 minute of microwave time and adjust in 30-second intervals for the perfect texture.
- Position the mug on the outer edge of the microwave turntable for even cooking.
- Avoid overcooking to prevent a rubbery mug cake texture.
After cooking, let the cake cool and set for about 5 minutes before enjoying. For a fluffier cake, add a pinch of baking powder. Remember, microwave mug cakes are best made one at a time for the best results.

By following these tips, you’ll get a perfect Oreo mug cake every time. It will have a soft, moist center and a delightful crumb.
Presentation and Serving Suggestions
Make your Oreo mug cake stand out with great presentation and creative serving ideas. Top it with whipped cream, crushed Oreos, or chocolate syrup for a stunning look. Add vanilla ice cream or fresh berries for a nice contrast in taste and texture.
Use a wide, shallow mug or ramekin to serve your cake. This makes it easier to enjoy and looks better. For a fancy touch, move the cake to a small plate and decorate it with edible flowers, shaved chocolate, or powdered sugar.
Garnishing Ideas
- Whipped cream
- Crushed Oreo cookies
- Chocolate syrup or drizzle
- Fresh berries (such as raspberries, blueberries, or strawberries)
- Chopped nuts (like almonds or walnuts) for added crunch
- Colorful sprinkles or edible flowers for a festive touch
Plating Techniques
- Serve the Oreo mug cake in a wide, shallow mug or ramekin for easy access and better presentation.
- For a more elegant presentation, transfer the warm cake to a small plate and garnish it with your desired toppings.
- Arrange the garnishes in an eye-catching manner, such as creating a circular pattern around the cake or placing them strategically on top.
- Consider using contrasting colors and textures to make the dessert visually appealing and inviting.
- Experiment with different plating styles, such as serving the cake on a slate or wooden board, to create a unique and memorable dining experience.
By focusing on presentation and serving, you can turn your Oreo mug cake into a showstopper. Get creative with garnishes and plating to make your microwave cake a hit on Instagram.
Common Mistakes to Avoid
When making the perfect Oreo mug cake, avoid common mistakes. Overcooking can make the cake dry and rubbery. Using too much milk can make it soggy and unappetizing. Make sure to finely crush the Oreo crumbs for even cooking.
Don’t overfill the mug. The cake will rise, so leave some room. Skipping the cooling time can ruin the texture. Be careful with extra ingredients, as they can change the cooking time and texture.
By avoiding these mug Cake troubleshooting mistakes, you’ll get a moist, decadent Oreo mug cake. Follow the recipe closely and heed microwave dessert tips. This way, you’ll avoid baking errors and enjoy a great Oreo and milk treat.
FAQ
What is an Oreo mug cake?
An Oreo mug cake is a simple dessert made in 5 minutes. It uses just two ingredients: Oreos and milk. This mix turns into a warm, tasty treat.
When were Oreo cookies first introduced?
Nabisco introduced Oreos in 1912, inspired by Hydrox cookies. The name “Oreo” comes from the French word for gold, matching the original packaging.
What are the key ingredients for an Oreo mug cake?
You need 4-8 crushed Oreos and 3 tablespoons of milk. Whole or evaporated milk adds richness. You can also use other milks.
How does the microwave cooking process work for Oreos and milk?
Microwaving Oreos and milk softens the cookies and melts the chocolate. This creates a cake-like texture.
What is the step-by-step process for making an Oreo mug cake?
To make an Oreo mug cake: 1) Crush Oreos in a microwave-safe mug. 2) Add milk and stir until creamy (about 1 minute). 3) Add optional ingredients. 4) Microwave for 1 to 1.5 minutes. 5) Let cool for 5 minutes. 6) Add toppings and enjoy.
How can you customize and enhance an Oreo mug cake?
Try different Oreo flavors and milks. Add chocolate chips, nuts, or marshmallows. Top with whipped cream, ice cream, or berries for extra flavor.
What are some tips for achieving the perfect Oreo mug cake?
Adjust microwave time and avoid overcooking. Let the cake cool and set properly. Crush Oreo crumbs finely for even cooking.
How can you present and serve an Oreo mug cake?
Top with whipped cream, crushed Oreos, or chocolate syrup. Serve in a wide mug for better presentation.
What are common mistakes to avoid when making an Oreo mug cake?
Don’t overcook, use too much milk, or overfill the mug. Crush Oreo crumbs finely and cool the cake after microwaving.

