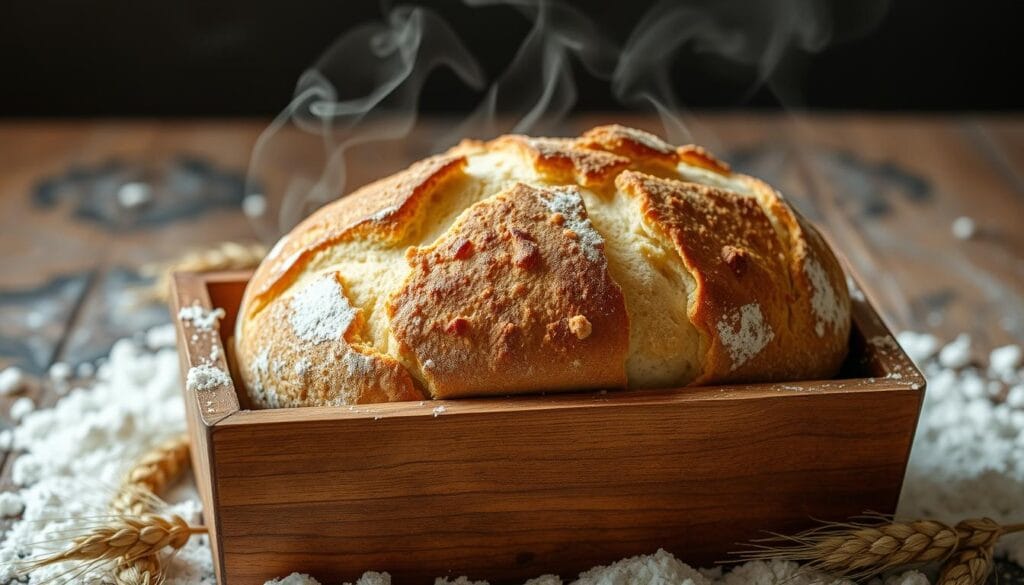
The smell of sourdough bread baking is amazing. It makes you feel cozy and proud. You don’t need to be a pro to make this bread. With a few tricks, you can make sourdough bread in loaf pan just like the pros.
Sourdough bread is loved for its tangy taste and soft texture. It’s a hit with home bakers. Baking it in a loaf pan is easier and makes a loaf that’s great for sandwiches or toast. This method lets you enjoy making your own fermented dough at home.
Table of Contents

Key Takeaways
- Baking sourdough bread in a loaf pan provides structure and support, making it suitable for high-hydration doughs or those with a higher proportion of whole grain flour.
- Loaf pans create even, uniform slices of bread, ideal for sandwiches and everyday use.
- The loaf pan simplifies the final proof, scoring, and baking process, eliminating the need for specialized equipment like Dutch ovens or bannetons.
- Using a loaf pan is beneficial for beginner bakers, as it offers support and structure to the dough.
- Scoring the dough is essential when baking in a loaf pan to allow steam to escape and prevent bursting during baking.
Benefits of Using a Loaf Pan for Sourdough Baking
The loaf tin is key for baking tasty sourdough loaves. It gives your dough the shape it needs and helps beginners get started. It’s a simple way to bake great bread.
Structure and Support Benefits
High-hydration sourdough doughs can be hard to shape. The loaf tin keeps your dough in shape. This way, your loaves stay rustic and perfect.
Ideal for Sandwich Making
The loaf tin makes sourdough bread great for sandwiches. Its square slices are perfect for toppings. Whether it’s a sandwich bread or avocado toast, it’s ideal.
Perfect for Beginners
New sourdough bakers will love the loaf tin. It makes shaping and baking easier. You can focus on learning baking techniques without worrying about dough shape.
Using a loaf tin makes sourdough baking easier and more fun. It helps beginners and experts alike. Try it out and see how it improves your sourdough baking.
Essential Equipment and Tools for Loaf Pan Sourdough
To bake perfect sourdough bread in a loaf pan, you need some key tools. First, you’ll need a 9×4 inch Pullman pan or an 8×5 inch loaf pan to shape your dough. A water pan for steam in your oven is vital. Also, keep ice cubes ready to add moisture.
For scoring, a bread lame or sharp knife is a must. A kitchen scale helps measure ingredients accurately. A large mixing bowl and Danish dough whisk make mixing easy. Lastly, a bread knife is needed for slicing your loaf.
Using a baking stone or pizza stone can help with even heat and a crisp crust. These tools are crucial for home bakers aiming to make beautiful sourdough loaves in a loaf pan.
| Item | Price Range |
|---|---|
| Pullman Loaf Pan or Loaf Pan | $20 – $30 |
| Kitchen Scale | $10 – $60 |
| Danish Dough Whisk | $8 – $15 |
| Bread Lame | $18 – $20 |
| Bread Knife | $60 – $90 |
Investing in these tools can improve your sourdough bread baking. Home bakers can achieve professional-quality results with just a simple loaf pan.
Understanding Sourdough Starter Preparation
Making perfect sourdough bread begins with a healthy wild yeast starters. These fermented dough cultures are the heart of your sourdough journey. They give the bread its leavening power and unique flavors.
Feeding Ratios and Timing
The health of your sourdough culture depends on the feeding ratios and timing. A 1:1:1 ratio (starter:flour:water) will rise in 4-6 hours. A 1:5:5 ratio may take about 12 hours. Keeping the starter at 70-80°F and feeding it consistently ensures it works well.
Signs of Starter Readiness
Your sourdough starter is ready when it doubles or triples in size. It should look bubbly and active. This means it’s ready to be mixed into your dough for the best rise.
Temperature Considerations
Temperature affects how fast your starter ferments. Warmer places (70-80°F) speed up the process. Cooler places slow it down. Keeping the starter at the right temperature helps your sourdough baking be consistent.
“A mature, active sourdough starter is the foundation for successful homemade sourdough bread.”
Getting your sourdough starter right is key to making amazing bread. By knowing about feeding ratios, timing, and temperature, you’ll grow a strong and reliable wild yeast starters. This will change your baking for the better.
Mixing and Developing the Sourdough Bread in Loaf Pan
Starting your artisanal baking journey begins with mixing and developing the fermented dough. Baking sourdough bread in a loaf pan requires careful dough preparation. This step is key to a well-structured, flavorful loaf.
First, mix flour, water, salt, and sourdough starter in a big bowl. Mix until it’s just combined, making a shaggy dough. Then, cover the bowl and rest for 30 minutes. This lets the flour hydrate and enzymes break down carbs, making the dough better.
- Mix flour, water, salt, and sourdough starter until a shaggy dough forms.
- Cover the bowl and let the dough rest for 30 minutes to allow for autolyse.
- Gently mix in salt and extra ingredients like olive oil or honey until well combined.
- Knead the dough for 8-10 minutes to build gluten structure.
- Put the dough in a greased loaf pan, cover, and let it rise for 2-3 hours. It should grow by about 1 inch above the pan rim.
Mixing and developing the sourdough bread dough in a loaf pan is vital. It ensures the bread has the right texture, structure, and taste. By following these steps, you’ll bake a stunning, artisanal sourdough bread at home.
“The new bread recipe in the book required five hours to prepare, yet yielded a loaf with the same complex flavor as 24-hour breads.”
Mastering the Stretch and Fold Technique
Creating a light, airy sourdough bread starts with a well-developed gluten structure. The stretch and fold method is key. It aerates the dough and strengthens the gluten bonds, leading to a bread with great texture and rise.
Proper Hand Movements
To do the stretch and fold, wet your hand lightly with water. Grab one dough side and stretch it up, then fold it over the dough’s center. Rotate the bowl 90 degrees and repeat this three more times, covering all dough sides.
Timing Between Folds
After each stretch and fold, cover the dough and rest for 20-30 minutes. This lets the gluten relax and the dough develop. Do at least two sets of stretch and folds, up to four for the best gluten development.
Signs of Developed Gluten
A well-developed gluten makes the dough smooth, elastic, and holds its shape. Try the “window pane” test by stretching a small dough piece. If it stretches thin without tearing, showing a translucent “window,” the gluten is ready.
“Proper gluten development is the foundation for a well-structured, light, and airy sourdough loaf.”
Mastering the stretch and fold technique will help you make amazing sourdough bread in a loaf pan. Experiment with the timing and frequency of the folds to find what works best for your dough and kitchen.
Shaping Your Sourdough for the Loaf Pan
Shaping sourdough for a loaf pan is easier than for free-form loaves. The pan’s structure lets you handle the dough gently. This ensures a beautiful, even rise in the loaf.
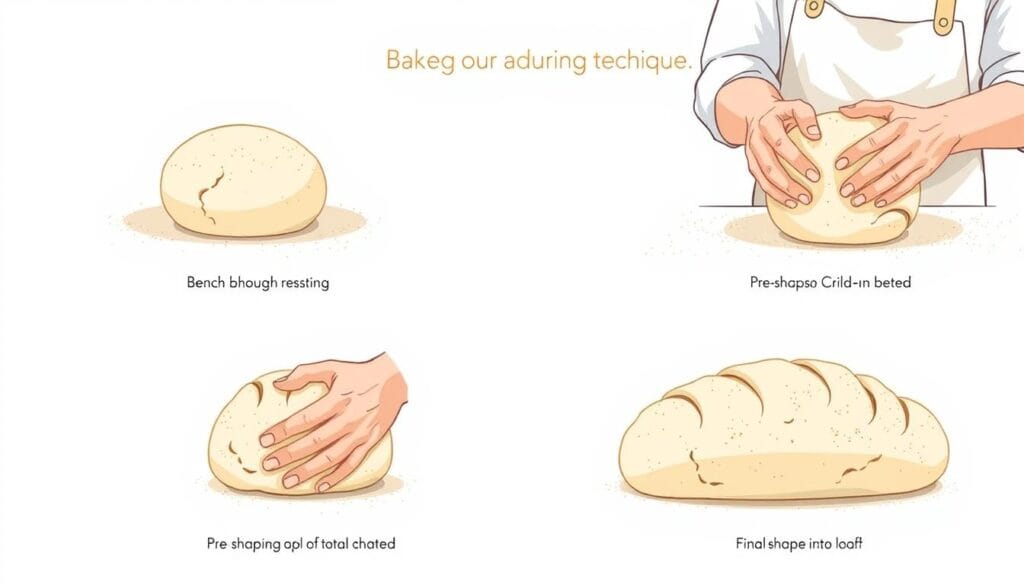
Begin by spreading the dough into a rectangle on an unfloured surface. Fold the bottom third up, then the top third down, like a letter. Roll the dough into an oblong shape, pinching the seam as you go. Use your hands to pull the dough towards you, creating tension on the outside.

Place the shaped dough, seam-side down, into a lightly greased loaf pan. This gentle method helps the dough rise evenly. It results in a perfect loaf of sourdough bread.
“Proper shaping is the key to achieving an even, well-structured loaf in a pan. Take your time and be gentle with the dough to ensure the best possible outcome.”
The beauty of baking sourdough bread in a loaf pan is its flexibility. You can try different dough handling and loaf formation methods. With practice, you’ll shape perfect sourdough bread for your loaf pan.
Creating Steam in Your Home Oven
Getting the perfect oven spring and crust is key to baking great sourdough bread at home. Home ovens don’t have steam injectors like pro bakeries do. But, there are easy ways to make steam at home to get similar results.
Ice Cube Method
One way is to put a metal pan with 1-inch of water on the bottom rack. Before putting in your dough, add ice cubes to the pan. The ice will turn to steam, keeping the crust soft and helping it rise well.
Water Pan Technique
Another method is to put a sheet pan with 10-12 ice cubes under the bread rack. As the ice melts, it will make steam. This steam helps the crust develop well, just like in a steam-injected oven. Take out the steam source after 20 minutes to let the crust get crispy.
Both methods are easy to try at home. They help your sourdough bread rise beautifully and get a crisp, shiny crust. Try them out to see which works best for you.
“The steam keeps the crust soft during initial baking, allowing for maximum expansion.”
Temperature and Timing Guidelines
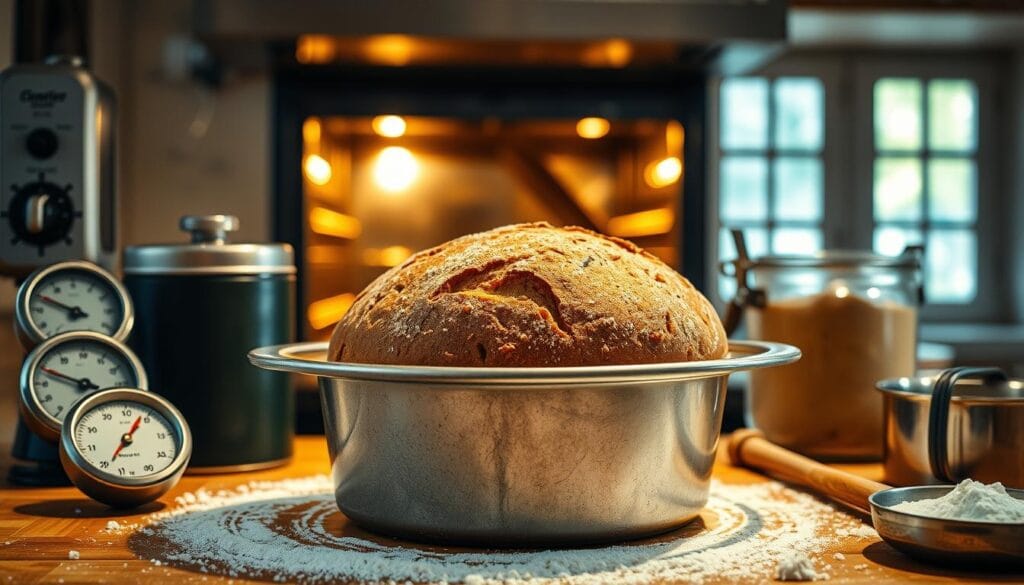
To bake the perfect sourdough loaf in a loaf pan, you need to control the temperature and timing well. Start by preheating your oven to 425°F (218°C). This high heat is key for the bread’s initial rise. After 20 minutes, raise the oven temperature to 450°F (232°C) for the next 15-20 minutes.
The total baking time is usually 35-40 minutes. For a crisper crust, take the loaf out of the pan for the last 5-10 minutes. The bread is ready when it sounds hollow when tapped on the bottom.
Getting the fermentation right is also important. Let the dough rise at room temperature for 10-14 hours. Then, move it to the fridge for the final proof, which can last 8-48 hours. Longer proofing times help develop deeper flavors in your sourdough.
| Baking Temperature | Baking Time | Proofing Times |
|---|---|---|
| Initial: 425°F (218°C) Increased: 450°F (232°C) | Total: 35-40 minutes Remove from pan: Last 5-10 minutes | First rise: 10-14 hours (room temperature) Final proof: 8-48 hours (refrigerator) |

“The key to achieving a perfectly baked sourdough loaf in a loaf pan lies in mastering the temperature and timing guidelines.”
By carefully controlling the baking temperatures and fermentation times, you can make sure your homemade sourdough bread has a crisp crust and a soft, flavorful inside every time.
Troubleshooting Common Loaf Pan Sourdough Issues
Baking sourdough bread in a loaf pan can be very rewarding. But, it comes with its own set of challenges. If you’ve run into any problems, don’t worry. We’ve got solutions to help you make your next loaf a success.
Preventing Sticking
To stop your sourdough loaf from sticking, grease the pan well with butter, oil, or non-stick spray. You can also line the pan with parchment paper. This creates a barrier and makes the bread easy to remove. If the crust is burning, try lowering the oven temperature by 25-50°F. Or, place a baking sheet below the loaf to block heat.
Managing Oven Spring
Oven spring is key for a light, airy crumb. To get the best oven spring, focus on proofing and scoring. Make sure your dough proofs fully. Also, consider a deeper score or slash on top to let it expand.
Crust Development
The crust is a crucial part of sourdough. If it’s too thick or tough, adjust the steam in your oven or the baking time. Overproofed dough can be dense, but baking in a pan helps. For uneven browning, just rotate the pan halfway through.
By tackling these common issues, you’ll be well on your way to baking perfect sourdough in a loaf pan. Remember, every bake is a chance to learn. Don’t get discouraged by a few hiccups. With some troubleshooting and experimenting, you’ll soon be making loaves that rival the bakery.
Conclusion
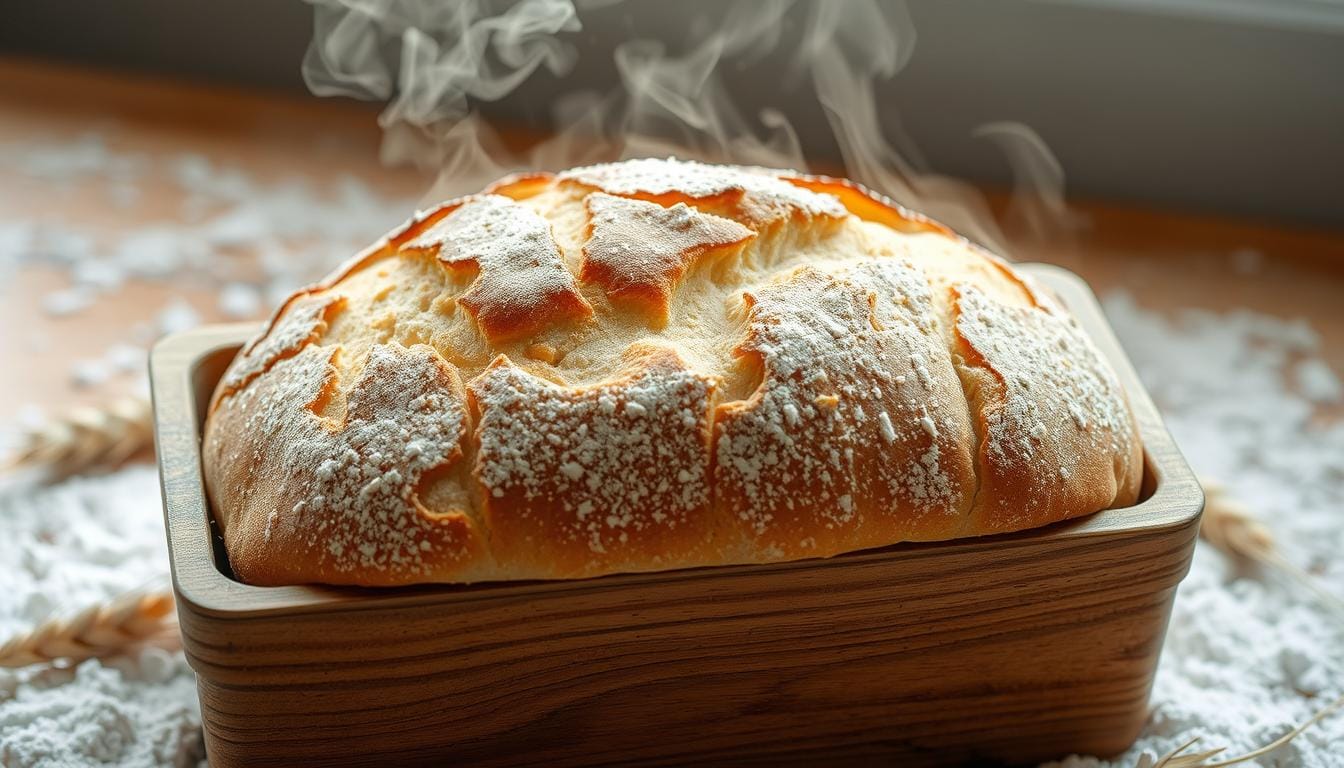
Baking sourdough Bread in a loaf pan is a mix of art and practicality. It’s easy for home bakers of all levels to try. You need basic tools and a bit of practice to get great results.
Learning to make sourdough in a loaf pan is rewarding. It’s about making a good starter, mixing the dough right, and baking it well. With practice, you’ll make delicious Sourdough Bread at home.
The loaf pan method is perfect for both new and experienced bakers. It’s easy to do and lets you bake whenever you want. Start baking sourdough in a loaf pan and enjoy making your own bread.
FAQ
What are the benefits of baking sourdough bread in a loaf pan?
Baking sourdough in a loaf pan gives the dough structure and support. This results in uniform slices perfect for sandwiches. It’s also easier for beginners, as it doesn’t require special equipment like Dutch ovens or bannetons.
What essential equipment is required for loaf pan sourdough baking?
You’ll need a Pullman or loaf pan, a water pan for steam, and ice cubes. A baking stone or pizza stone, a bread lame or sharp knife, and a kitchen scale are also important. Don’t forget a large mixing bowl, a Danish dough whisk, and a bread knife for slicing.
How do I prepare a healthy and active sourdough starter for baking in a loaf pan?
Start by preparing your sourdough starter. Use a 1:1:1 (starter:flour:water) ratio for quick rising or a 1:5:5 ratio for slower rising. The starter is ready when it’s doubled or tripled in size and bubbly. Keep it at 70-80°F for best results.
How do I mix and develop the sourdough dough for baking in a loaf pan?
Mix flour, water, salt, and starter in a bowl until it’s shaggy. Cover and rest for 30 minutes. Then, do stretch and folds to strengthen the dough. Aim for two to four sets for the best gluten development.
How do I shape the sourdough dough for baking in a loaf pan?
Shaping for a loaf pan is easier than for free-form loaves. Spread the dough into a rectangle, fold the bottom and top thirds, and roll it into an oblong shape. Pinch the seam closed and place it seam-side down in a greased loaf pan.
How do I create steam in my home oven for baking sourdough in a loaf pan?
Steam is key for a good crust and oven spring. Use a metal pan with 1-inch of water on the bottom rack. Add ice cubes to the water just before baking for extra steam. Or, place ice cubes on a sheet pan below the bread. Remove the steam source after 20 minutes to crisp the crust.
What are the recommended baking temperatures and times for sourdough in a loaf pan?
Preheat to 425°F (218°C) for the first 20 minutes with steam. Then, increase to 450°F (232°C) for 15 more minutes. Baking time is about 35-40 minutes. For a crisper crust, remove the loaf from the pan for the last 5-10 minutes.
How can I troubleshoot common issues with baking sourdough in a loaf pan?
To prevent sticking, grease the pan well or use parchment paper. If the bread burns, lower the oven temperature or use a baking sheet below. For better oven spring, ensure proper proofing and scoring. Adjust steam levels or baking time for a thinner crust. Extend baking time or reduce hydration for a less gummy interior. Rotate the pan for even browning.

